Follow Me On Social Media!

Red Velvet Cupcakes: Indulgent Treats That Wow Every Time
Introduction to Red Velvet Cupcakes
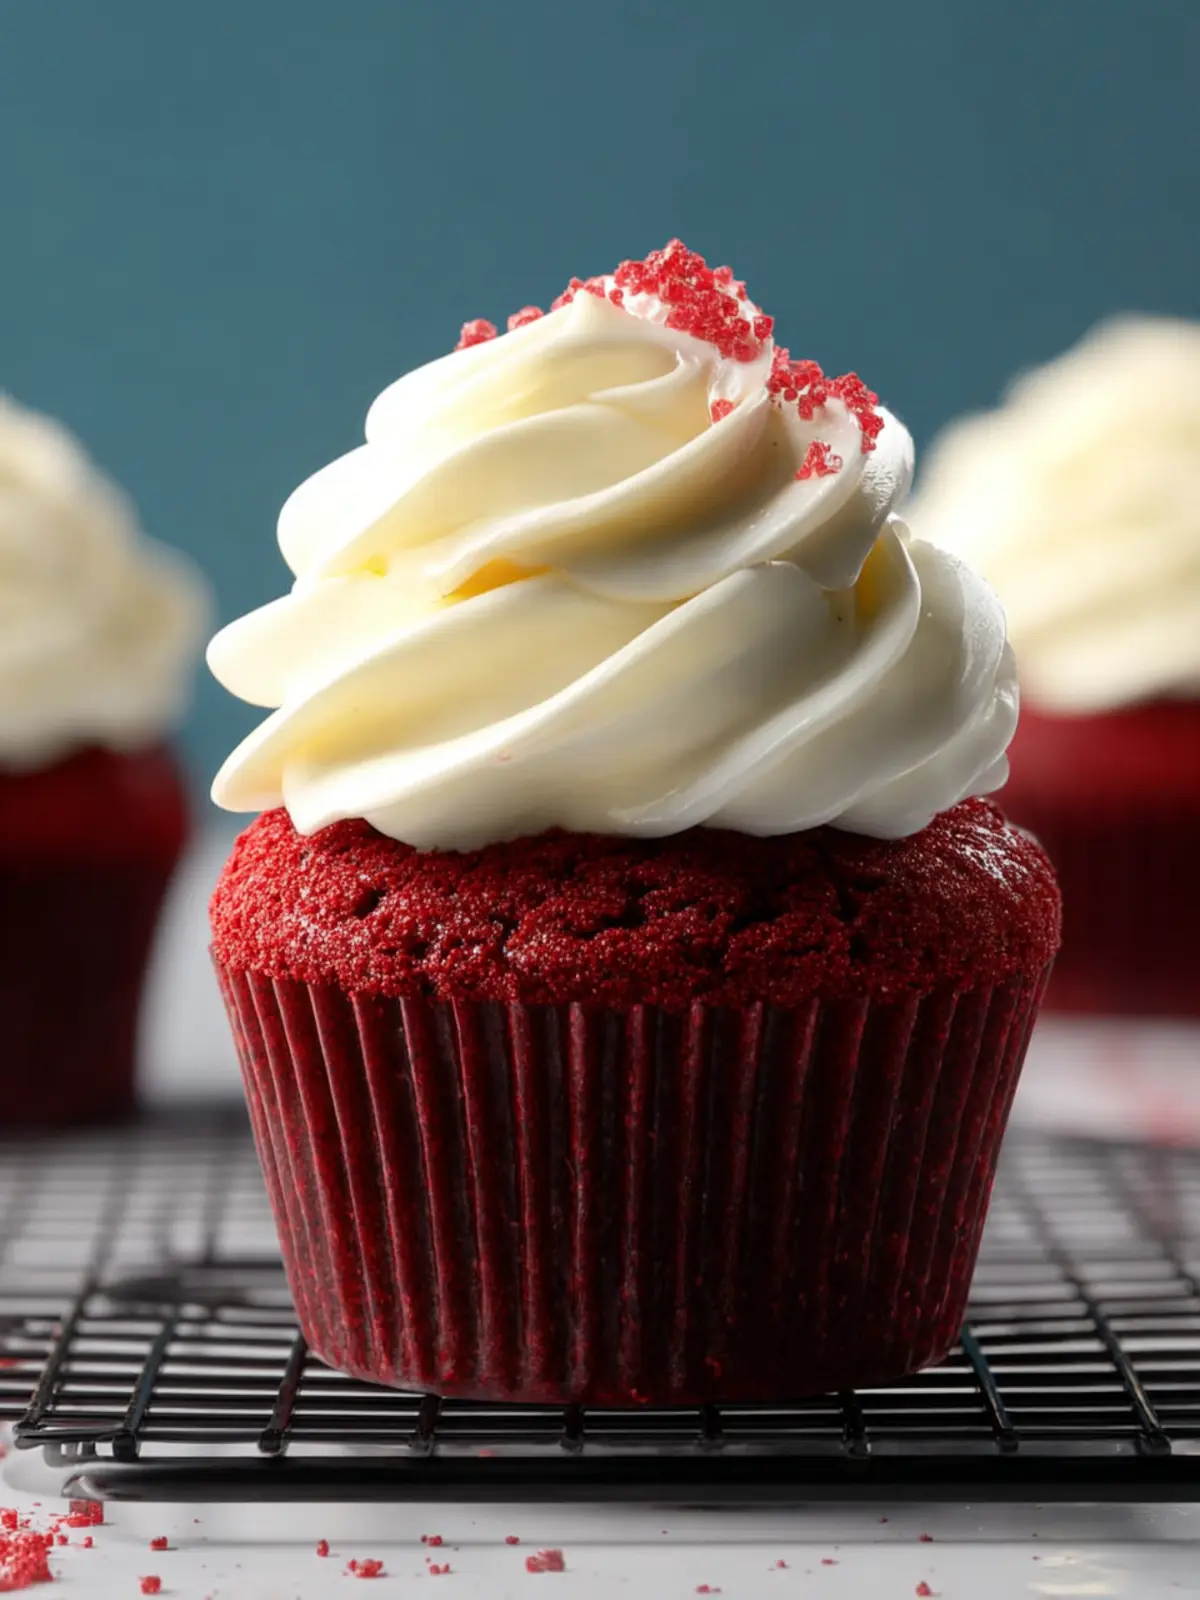
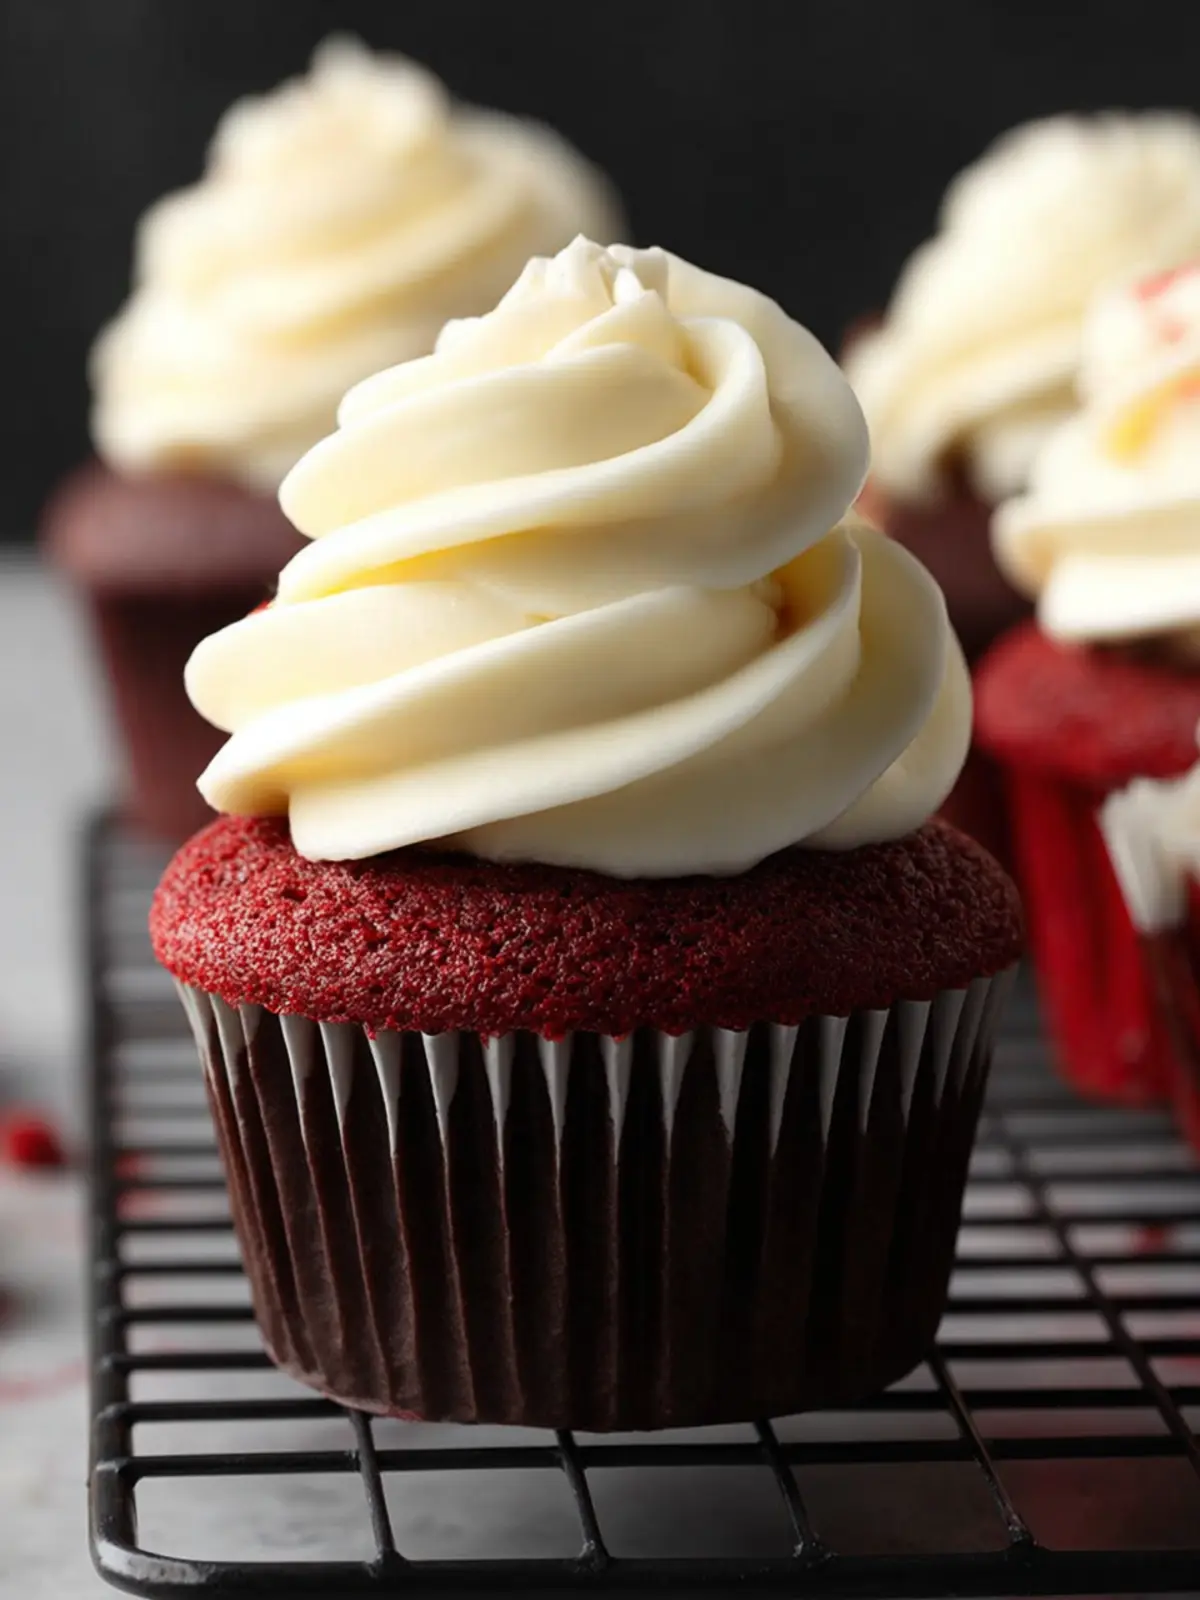
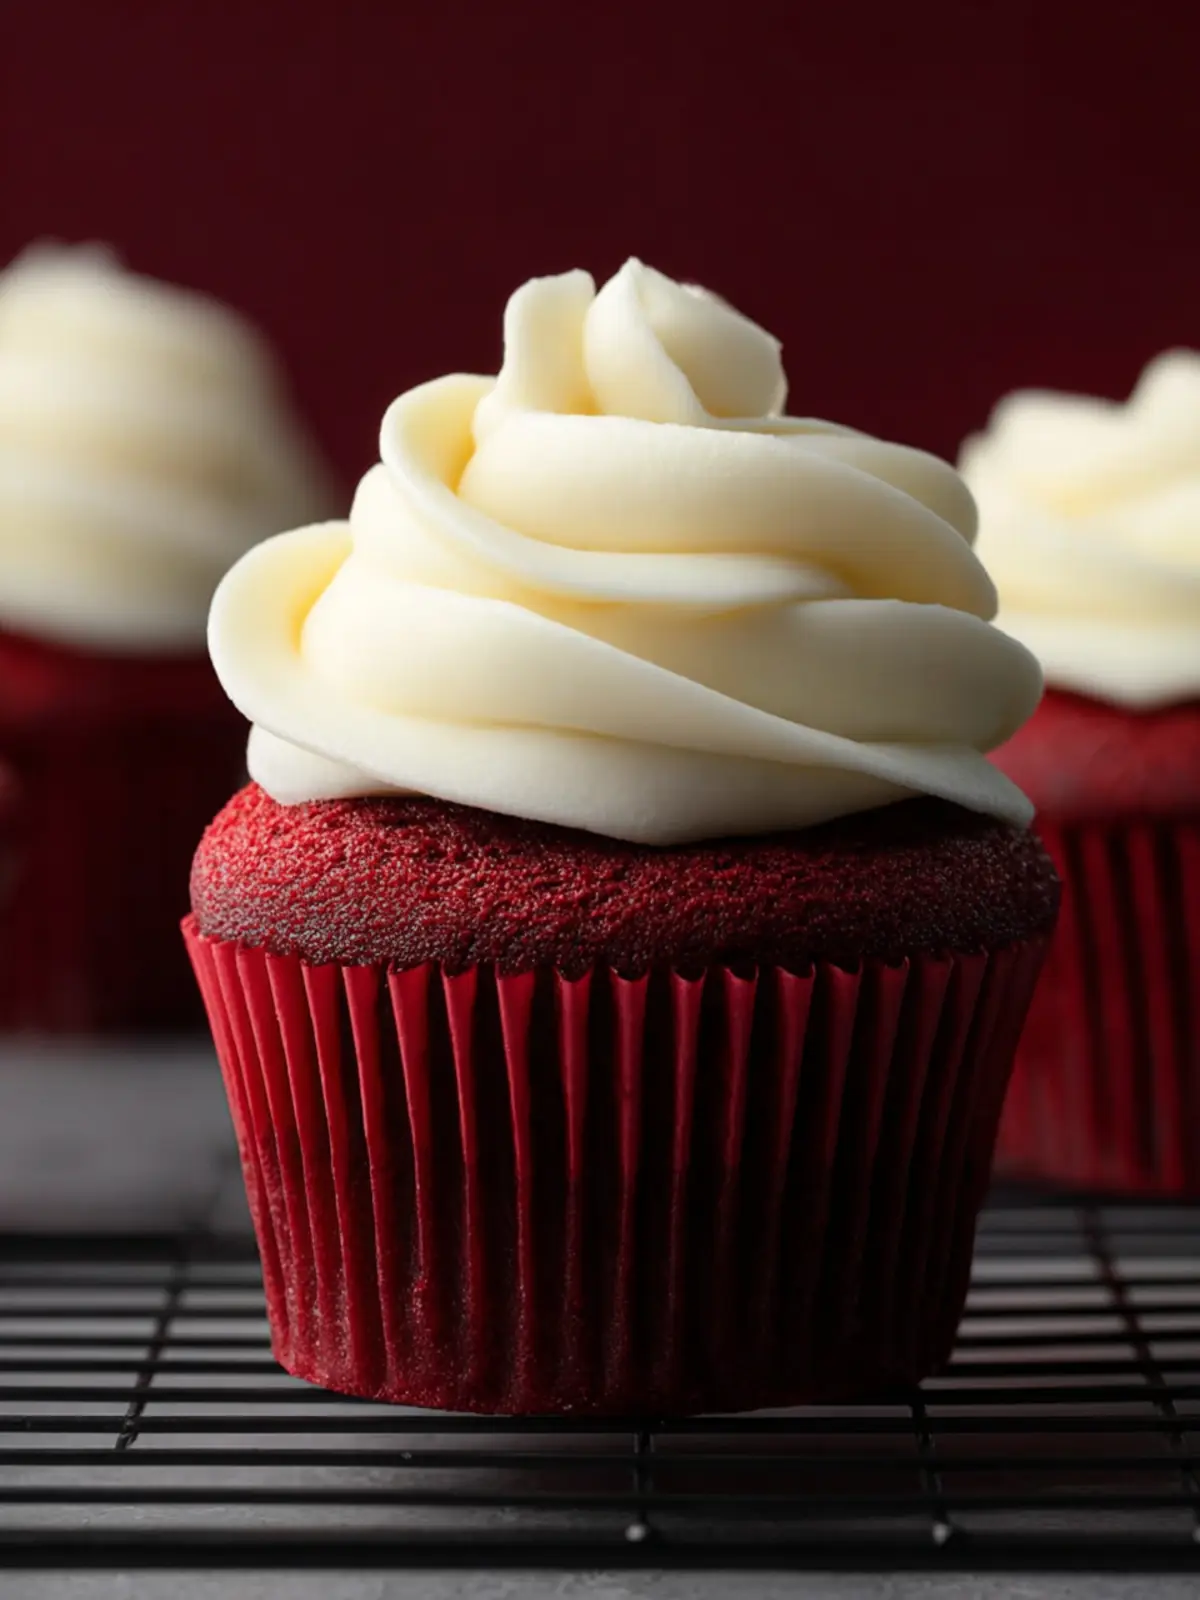
There’s something undeniably enchanting about red velvet cupcakes. These delectable treats, with their vibrant crimson hue and luxurious cream cheese frosting, are more than just eye candy; they encapsulate a flavorful journey that blends rich history with modern indulgence. Originating from the classic red velvet cake, these cupcakes have evolved into a favorite at birthdays, weddings, and celebrations of all sorts. The moment you sink your teeth into one, you are greeted with a subtle chocolatey flavor, a light, fluffy texture, and that signature tanginess that makes your taste buds dance.
What makes red velvet cupcakes so special?
So, what truly sets red velvet cupcakes apart from the rest? Here are some delightful aspects to consider:
-
Color and Presentation: The stunning red color not only catches the eye but also sparks curiosity and excitement. A plate of these cupcakes can transform an ordinary event into something extraordinary.
-
Flavor Profile: Unlike standard chocolate or vanilla cupcakes, red velvet has an intriguing flavor profile. It’s a perfect balance of subtle cocoa and tanginess thanks to the addition of buttermilk and vinegar. This twist makes every bite surprisingly special.
-
Versatile Frosting Pairings: While the traditional pairing is a lavish cream cheese frosting, the options are virtually endless. From chocolate ganache to vanilla buttercream, you can tailor the frosting to suit any occasion, making red velvet cupcakes not just a treat, but a canvas for your creativity.
-
Culinary Heritage: This dessert isn’t just a modern trend—it’s steeped in history. The origins date back to the early 20th century and have roots in Southern cuisine. Celebrating the recipe gives you a slice of cultural history with every bite.
In conclusion, red velvet cupcakes are more than a simple dessert. They’re a combination of flavors, colors, and history that creates a tiny celebration in each cupcake. Whether you’re sharing them with friends or indulging alone, they promise to be a delightful experience. So, are you ready to delve into making these charming confections? Let’s get started!
Key Ingredients for Red Velvet Cupcakes
Red velvet cupcakes are an iconic dessert that never fails to impress with their striking color and unique flavor. The magic lies in a balance of carefully chosen ingredients that combine to create a velvety, moist treat that’s perfect for any occasion.
-
Cocoa Powder: A small amount of high-quality unsweetened cocoa powder adds a subtle chocolate flavor that beautifully contrasts the sweetness of the frosting. Opt for Dutch-processed cocoa for a richer taste.
-
Buttermilk: This tangy ingredient is crucial for creating that tender crumb. It reacts with baking soda to provide leavening and contributes to the cupcakes’ signature moistness. If you’re out of buttermilk, you can easily make a substitute by mixing milk with a splash of vinegar.
-
Vegetable Oil: Using vegetable oil instead of butter keeps these cupcakes incredibly tender and soft. The oil coats the flour particles, preventing gluten formation and leaving you with a lovely, dense texture.
-
Vinegar: A splash of white vinegar may seem odd, but it helps to enhance the red velvet flavor by reacting with the cocoa and buttermilk, adding depth to the overall taste.
-
Eggs: Eggs bind the ingredients together, ensuring a fluffy and uniform texture. It’s worth using large eggs for the perfect balance of moisture and structure.
Each of these ingredients plays a pivotal role in achieving the signature flavor and texture of red velvet cupcakes. By understanding how each component interacts, you’ll be better equipped to create a batch that’s nothing short of spectacular!
Why You’ll Love This Recipe
There’s a certain magic that envelopes the kitchen when you bake red velvet cupcakes, a perfect blend of rich cocoa and vibrant color that always leaves a lasting impression. Imagine the aroma wafting through your home, pulling everyone in with its mouthwatering charms. Whether you’re celebrating a special occasion or simply indulging your sweet tooth, these cupcakes are the ideal treat.
Irresistibly Flavorful
The combination of cocoa powder and a hint of vanilla creates a surprisingly delightful flavor profile. You get just the right amount of chocolatey goodness, balanced with a soft, buttery texture. Plus, the cream cheese frosting that crowns these cupcakes adds a luscious tartness, making every bite utterly addictive.
Perfect for Sharing
Baking red velvet cupcakes is not just about feeding your craving; it’s an experience to share with friends and family. As you pull these little beauties from the oven, expect smiles and imaginary applause. They are visually stunning and delicious, making them the perfect treat for gatherings or as a sweet gesture for someone you care about.
Simple to Make
With straightforward ingredients and clear instructions, you’ll find that making these cupcakes doesn’t require professional baking skills. It’s an accessible recipe that can easily become your go-to whenever the mood for a sweet pick-me-up strikes!
So why wait? Dive into this decadent recipe and discover your new favorite treat!

Tips for Making Perfect Red Velvet Cupcakes
Creating red velvet cupcakes that are both visually stunning and scrumptiously delicious may seem daunting, but with a few handy tips, you can become a pro in no time.
Use High-Quality Cocoa Powder
For that signature flavor, a high-quality unsweetened cocoa powder is essential. It enhances the taste and adds a depth that cheap alternatives can’t match.
Don’t Rush the Mixing Process
Incorporating the ingredients properly is crucial. When you cream the butter and sugar, take your time to ensure they’re fluffy and light. This little step really makes a difference in texture!
Perfect Your Red Color
For that vibrant rich red hue, use gel food coloring instead of liquid. Gel coloring is more concentrated and will give you a bolder finished product without altering the batter’s consistency.
Room Temperature Ingredients
Make sure your butter, eggs, and buttermilk are at room temperature before starting. This helps all ingredients blend smoothly, creating an even batter that rises beautifully in the oven.
Cool Completely Before Frosting
Let your cupcakes cool entirely before frosting; otherwise, the frosting will melt right off! This is a crucial step in ensuring that beautiful finish you’re after.
By following these straightforward tips, you’ll be well on your way to baking perfect red velvet cupcakes that everyone will rave about!
Time Breakdown for Red Velvet Cupcakes
Making red velvet cupcakes is a delightful experience that brings a touch of joy to one’s kitchen. Here’s how to plan your baking session effectively:
Preparation Time
Preparing your ingredients and mixing the batter takes about 20 minutes. This includes gathering your essentials and getting everything ready for baking.
Baking Time
Once the batter is ready, pop those cupcakes into your preheated oven for 20 to 25 minutes. You’ll know they’re done when a toothpick comes out clean.
Total Time
In just about 50 minutes, you’ll create a dozen scrumptious red velvet cupcakes. Allow a few extra minutes for cooling, and you’ll soon be savoring your fabulous creation!
Nutritional Facts for Red Velvet Cupcakes
Red velvet cupcakes are not only a visual delight but also pack a nutritional punch worth noting. Each bite tells a story of sweetness and indulgence balanced with some key nutritional components.
Calories
These delicious treats typically come in at around 200 calories each. It’s essential to enjoy them in moderation, especially when they’re so hard to resist at your next gathering.
Protein
When it comes to protein, red velvet cupcakes offer about 3 grams per cupcake. While they aren’t a high-protein treat, they can pair wonderfully with a protein-rich coffee or a side of yogurt.
Sugar
Sugar content in these cupcakes usually hovers around 18 grams. This contributes to their rich flavor, but it’s a good idea to be mindful of your sugar intake, especially if you’re indulging in more than one!
Incorporating red velvet cupcakes into occasional celebrations can certainly satisfy your sweet tooth while still being mindful of the nutritional aspects.
FAQs about Red Velvet Cupcakes
When you’re indulging in red velvet cupcakes, it’s only natural to have a few questions swirling in your mind. These delightful treats, with their rich flavor and stunning appearance, tend to raise a bit of curiosity, and we’ve got you covered with answers to the most common inquiries.
Can I make red velvet cupcakes ahead of time?
Absolutely! One of the best things about red velvet cupcakes is their versatility. You can bake the cupcakes a day in advance and store them in an airtight container at room temperature. If you’re aiming for a fresher taste, it’s best to frost them on the day of serving, but they can also be frosted and stored in the fridge for up to three days. Just make sure to bring them to room temperature before serving to fully enjoy their flavor.
What frosting pairs best with red velvet cupcakes?
While cream cheese frosting is the classic choice—its tanginess beautifully complements the sweetness of red velvet cupcakes—you can also explore other options. Vanilla buttercream offers a lighter contrast, while chocolate ganache adds a rich indulgence. If you’re feeling adventurous, a tangy lemon frosting can give a refreshing twist that’s surprisingly delightful.
How do I store leftover cupcakes?
To keep your leftover red velvet cupcakes fresh, place them in an airtight container. At room temperature, they’ll last for about three days, but if you want to extend their shelf life, refrigerate them for up to a week. Just remember to let them sit at room temperature for a bit before enjoying—you’ll appreciate the flavors much more!
Conclusion on Red Velvet Cupcakes
Crafting red velvet cupcakes is more than just baking; it’s about celebrating life’s sweet moments. These delightful treats, with their rich flavor and beautiful color, can transform any gathering into a special occasion. Remember to embrace the silky texture of the cream cheese frosting, as it beautifully complements the moist cake.
Whether it’s a birthday party, an anniversary, or simply a cozy evening at home, red velvet cupcakes are sure to impress. The key is to follow the recipe closely for the best results. So preheat that oven, gather your ingredients, and let’s create some unforgettable memories together through the magic of baking!
Print
Red Velvet Cupcakes with Ermine Frosting
- Total Time: 1 hour 15 minutes
- Yield: 15 cupcakes 1x
Description
Deliciously moist red velvet cupcakes topped with silky ermine frosting.
Ingredients
Scale
- 1 1/2 cups cake flour
- 1 1/2 tablespoons natural cocoa powder
- 1/2 teaspoon baking soda
- 1/4 teaspoon salt
- 1/4 cup unsalted butter (room temperature)
- 1 cup granulated sugar
- 2 large eggs (room temperature)
- 2 teaspoons vanilla extract
- 1/4 cup vegetable oil
- 1/2 cup buttermilk (room temperature)
- 1 teaspoon apple cider vinegar (or white vinegar)
- 2 teaspoons red gel food coloring
- 3/4 cup granulated sugar
- 1/4 cup all-purpose flour
- 1/2 teaspoon salt
- 1 cup whole milk
- 1 cup unsalted butter (room temperature)
- 2 teaspoons vanilla extract
Instructions
- If making ermine frosting, I suggest starting the frosting first. While the frosting base cools, prepare the cupcakes.
- Preheat oven to 350℉. Line a cupcake pan with 15 liners and set aside.
- In a bowl, add dry ingredients: cake flour, cocoa powder, baking soda, and salt. Whisk to combine and remove any clumps. Set aside.
- In a large bowl, add butter and granulated sugar. Using a hand mixer, beat to combine. Add vanilla and eggs and beat until smooth and creamy. Set aside.
- In a separate bowl, add oil, buttermilk, vinegar, and food coloring. Stir to combine.
- To your egg mixture, add half of the dry ingredients. Stir until just incorporated. Add half of your buttermilk mixture and stir until just incorporated. Repeat once more to add your remaining dry and wet ingredients. Do not overmix.
- Divide batter between 15 cupcake liners. Bake for about 18-21 minutes, or until the center pops back when gently pressed. Allow to cool for 5 minutes in the pan before transferring to a cooling rack.
- In a saucepan over medium heat, add sugar, flour, and salt. Whisk in milk and continue whisking until smooth.
- Cook over medium heat for about 5 to 7 minutes, whisking frequently, until mixture looks very thick (like sweetened condensed milk consistency). Remove from heat.
- Transfer mixture to a bowl. Press plastic wrap over the top of the mixture and up the sides of the bowl to prevent a skin from forming. Allow mixture to cool completely to room temperature, about an hour.
- Once flour mixture has cooled, add room temperature butter to a large bowl and beat with a hand mixer (or a stand mixer) until light and fluffy, about 2 to 3 minutes.
- Add your cooled flour mixture, 1 tablespoon at a time, to the whipped butter and beat until smooth, scraping the sides of the bowl frequently. Continue until all of your flour mixture has been incorporated.
- Add vanilla extract and mix to combine. Frosting should be silky smooth with a whipped texture.
- Pipe or spread frosting with a knife onto cupcakes and serve.
Notes
- To speed up cooling of the mixture, you may transfer it to the refrigerator but do not allow it to go below room temperature.
- Ensure that the flour mixture is at room temperature before adding to the butter to prevent melting.
- Prep Time: 30 minutes
- Cook Time: 21 minutes
- Category: Dessert
- Method: Baking
- Cuisine: American
Nutrition
- Serving Size: 1 cupcake
- Calories: 320
- Sugar: 25g
- Sodium: 150mg
- Fat: 18g
- Saturated Fat: 10g
- Unsaturated Fat: 6g
- Trans Fat: 0g
- Carbohydrates: 40g
- Fiber: 1g
- Protein: 4g
- Cholesterol: 50mg