Follow Me On Social Media!

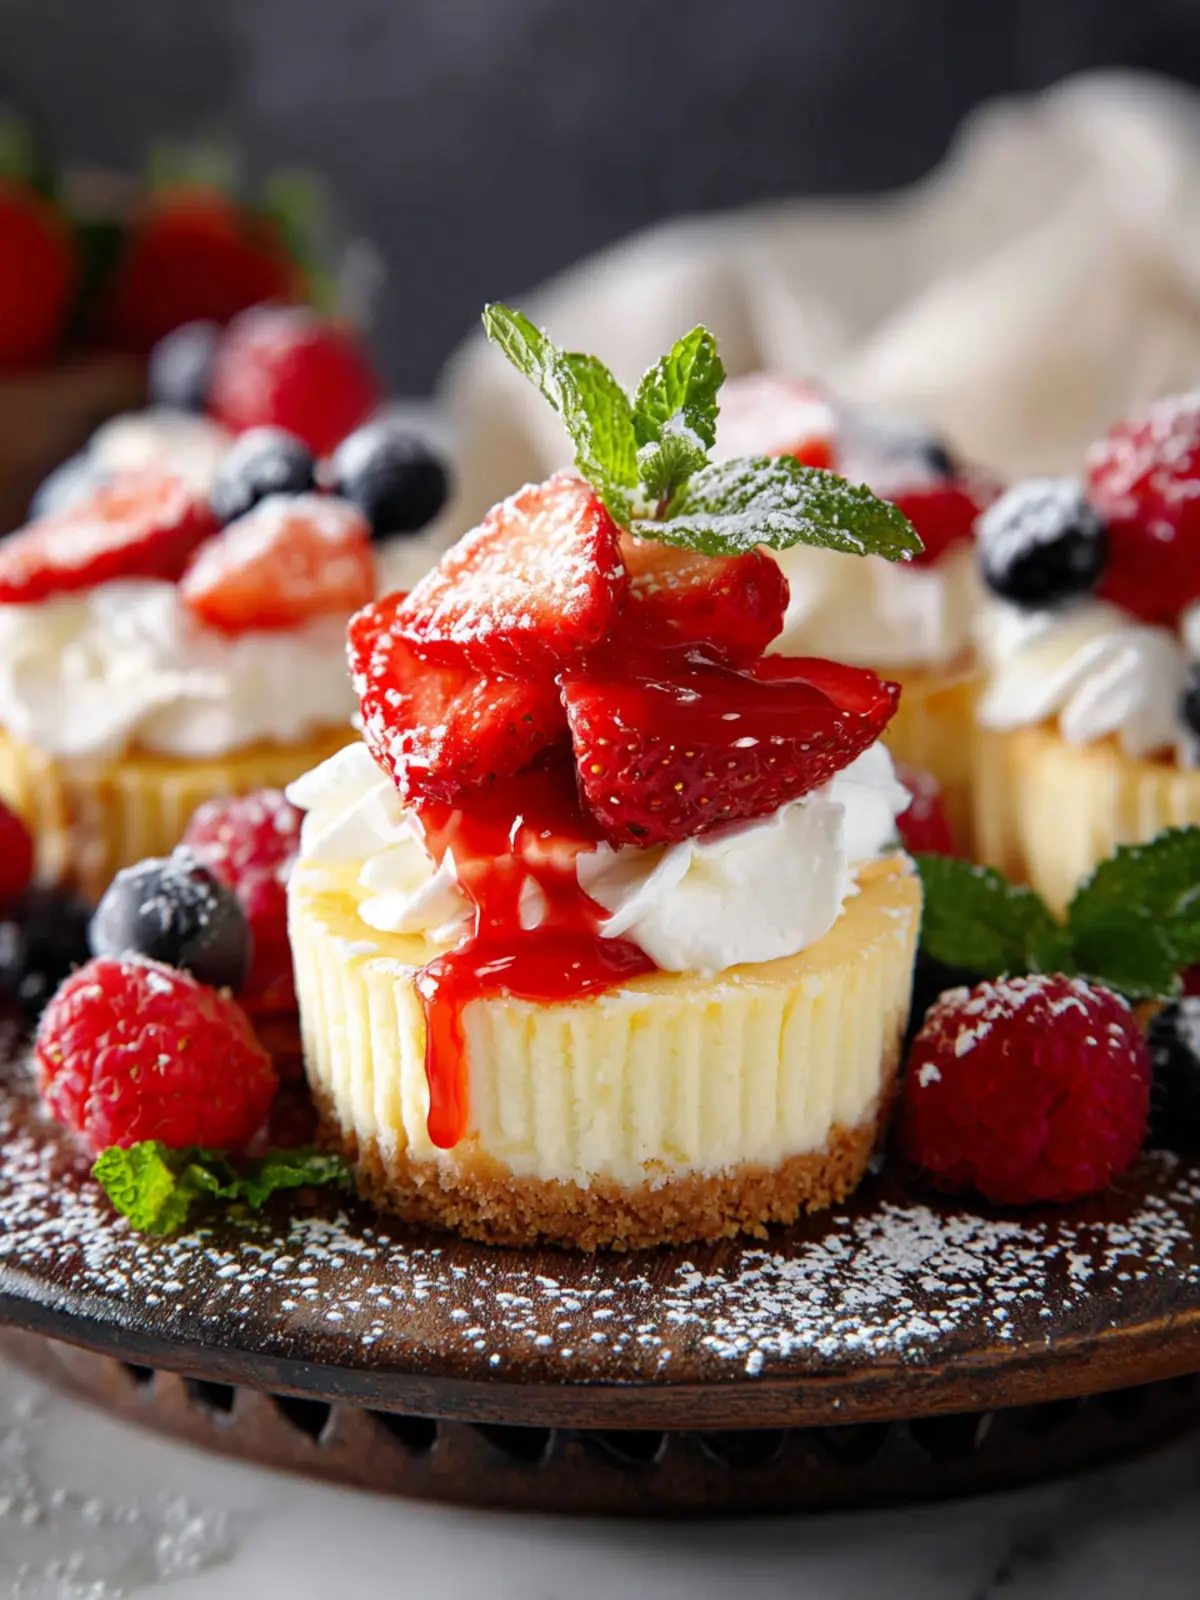
Mini Cheesecake Delight: Irresistibly Creamy & Easy Recipe
Introduction to Mini Cheesecakes
The sheer delight of a mini cheesecake often brings back fond memories of cozy gatherings and sweet celebrations with friends. Imagine a dessert that fits perfectly in your hand, decadent yet light, and bursting with creamy flavor. It’s no surprise that these little treats comfort our busy lives, reminding us that indulgence can come in manageable bites.
Crafting a mini cheesecake is both straightforward and satisfying, allowing young professionals like yourself to impress guests without spending hours in the kitchen. The beauty of these treats lies not just in their taste, but also in their versatility. Whether you prefer classic flavors like vanilla and chocolate or are feeling adventurous with berries and caramel, there’s a mini cheesecake variant for every palate.
What makes mini cheesecakes so irresistible?
-
Portion Control: Let’s face it—sometimes, dessert feels like an impossible temptation, especially when we have big slices to contend with. Mini cheesecakes are just the right size, offering a guilt-free way to satisfy your sweet tooth without overindulging.
-
Creamy Texture: Each bite is a creamy explosion of flavor that melts in your mouth. The richness of the cream cheese, coupled with a perfectly baked crust, creates a texture contrast that’s hard to resist.
-
Customization Options: Perhaps one of the biggest draws of mini cheesecakes is how easily they can be personalized. From fruity toppings to various crust options like graham cracker or chocolate, the choices are endless. Feeling adventurous? You could even add a swirl of your favorite jam for an unexpected twist.
-
Perfect for Events: These delightful desserts are ideal for parties, picnics, and potlucks. They provide an elegant touch to any occasion while being easy to serve—everyone gets their own little portion to indulge in.
Ultimately, the allure of mini cheesecakes lies in their delightful ability to brighten any moment, making them a beloved dessert for people of all ages. Whether you’re treating yourself after a long week or impressing guests at a dinner party, there’s something undeniably special about these charming little delights.
Key Ingredients for Mini Cheesecakes
Creating the perfect mini cheesecake starts with a careful selection of ingredients that come together to deliver that decadent flavor profile we all love. Each component plays a vital role, and choosing high-quality items enhances the overall experience.
-
Cream Cheese: The star ingredient! I always opt for full-fat cream cheese for the richest texture. It ensures the cheesecake filling is smooth and creamy, giving that luscious mouthfeel we crave.
-
Sugar: Granulated sugar adds sweetness, which balances the tanginess of the cream cheese. I prefer to use just the right amount so that the flavors complement rather than overpower one another.
-
Eggs: These are essential for binding everything together. Using room-temperature eggs allows for a better emulsification, leading to that velvety consistency in your mini cheesecakes.
-
Sour Cream: A dollop of sour cream not only adds creaminess but also a slight tang that enhances the overall flavor. If you don’t have sour cream, plain Greek yogurt can be a fantastic substitute!
-
Vanilla Extract: Don’t skip this! Quality vanilla extract amplifies all the flavors and gives your mini cheesecakes a wonderfully aromatic touch.
-
Crust Ingredients: A buttery graham cracker crust provides the perfect contrast to the creamy filling. Opt for finely crushed graham crackers mixed with melted butter for the ideal texture.
Why You’ll Love These Mini Cheesecakes
Indulging in a mini cheesecake can feel like a little slice of heaven on any given day. These charming desserts are not only delightfully creamy but also incredibly simple to make, making them perfect for both seasoned bakers and kitchen novices alike.
Perfectly Portion-Controlled
One of the best things about mini cheesecakes is their size. Each little cake serves as its own individual dessert, allowing you to enjoy a rich, decadent treat without the guilt of overindulging. They’re ideal for parties and gatherings, where everyone can have their own delightful serving, ensuring nobody feels left out!
Versatile and Fun
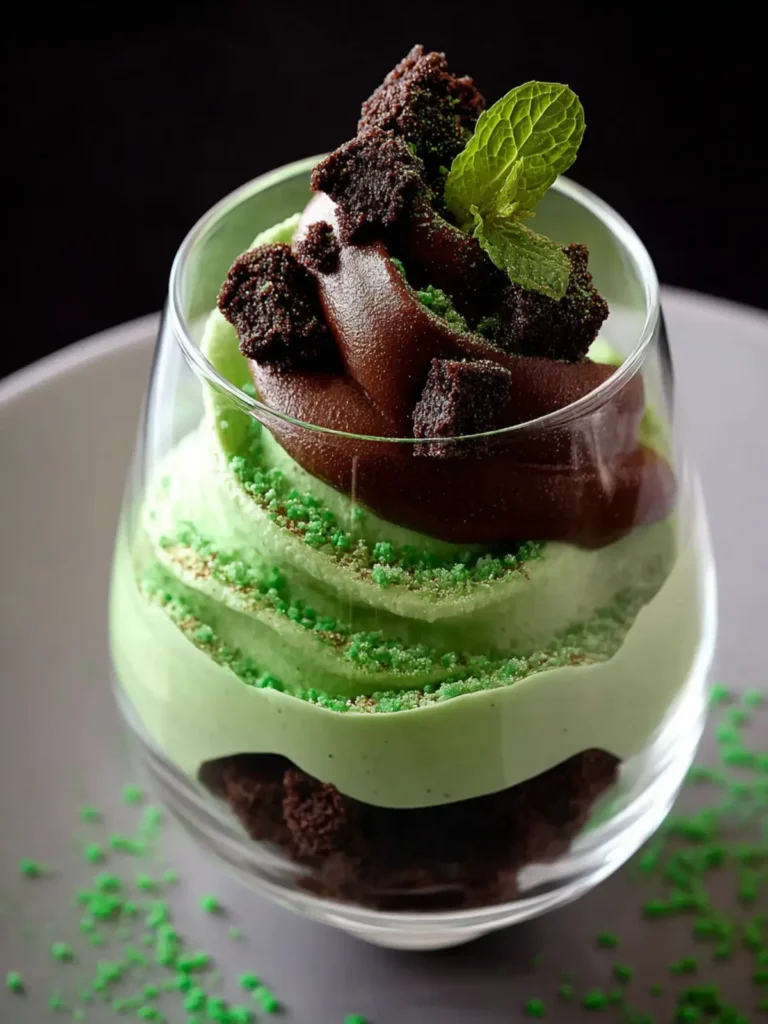
The beauty of the mini cheesecake lies in its versatility. From classic flavors like strawberry and chocolate to more adventurous options like matcha or salted caramel, the possibilities are endless. You can experiment and create your signature cheesecake flavors that cater to your taste and your guests’ preferences.
A Crowd-Pleaser
Whether you are hosting a birthday party, a holiday celebration, or just a cozy get-together with friends, mini cheesecakes always impress. Their charming appearance and delightful taste will have everyone singing your praises. Plus, you can prepare them ahead of time, freeing you up to enjoy the occasion.
Once you try these mini cheesecakes, you’re bound to fall in love! The blend of flavors and textures makes each bite an experience to savor. So why not whip up a batch today?
Variations for Customizing Mini Cheesecakes
Creating delectable mini cheesecakes is just the beginning; there are endless ways to transform these treats into something uniquely yours. Think of them as a blank canvas: you have the opportunity to paint with flavors and toppings that reflect your personal style.
Flavor Twists
Why stick to the classic when you can elevate your mini cheesecake with delightful flavor variations? Here’s some inspiration to get you started:
- Chocolate Delight: Add melted chocolate to the cheesecake batter for a rich, velvety treat. Dark, milk, or even white chocolate will work wonders!
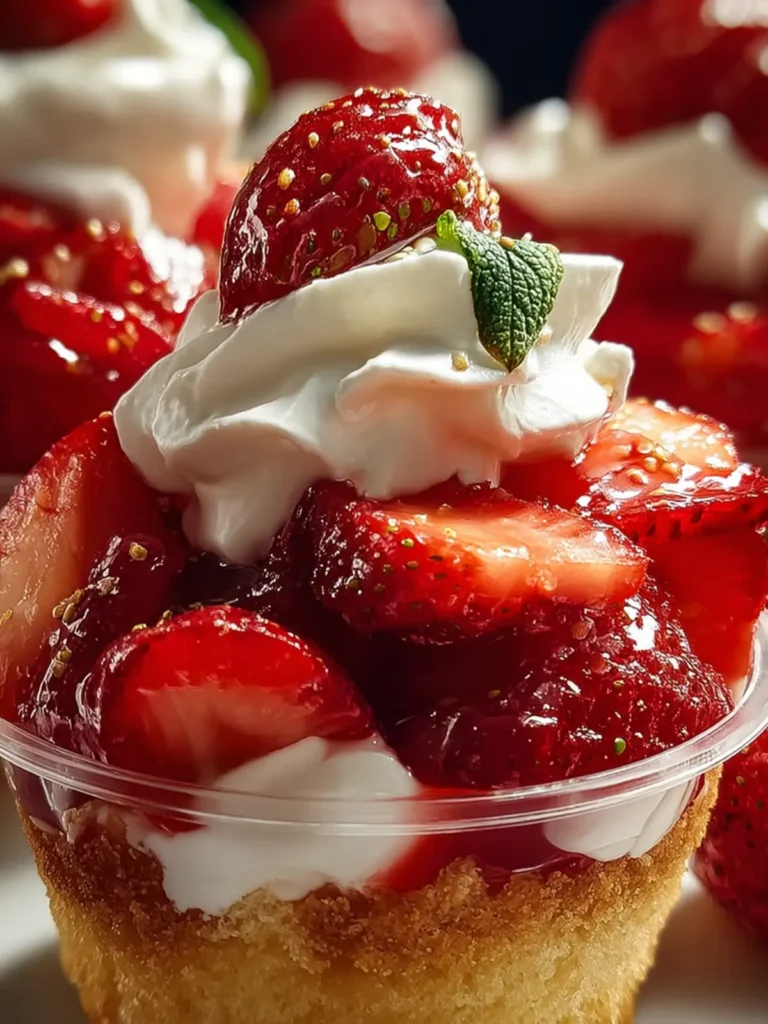
- Berry Bliss: Blend in pureed strawberries or raspberries to the filling for a fruity twist. For extra flair, top with a layer of berry compote.
- Spiced Pumpkin: Perfect for fall, mix in pumpkin puree with cinnamon and nutmeg for a delicious spin reminiscent of your favorite seasonal pie.
Topping Options
The right topping can take your mini cheesecake from simple to spectacular. Here are some crowd-pleasing ideas:
- Whipped Cream: A dollop of freshly whipped cream adds a touch of lightness and decadence.
- Caramel Drizzle: Pouring warm caramel sauce over the top creates a gooey, sweet layer that perfectly complements the creamy filling.
- Nuts and Chocolate Chips: For a textural contrast, sprinkle some chopped nuts or chocolate chips on top before serving. This adds crunch and visual interest.
With these variations, your mini cheesecakes will be as diverse and delightful as your taste buds!
Cooking Tips and Notes for Mini Cheesecakes
Creating delicious mini cheesecakes is a delightful culinary adventure that can impress anyone. With the right techniques, you’ll find that making these bite-sized treats is not only easy but fun too!
Essential Techniques
- Crust Preparation: For a perfect crust, ensure your crumbs are evenly crushed and well combined with melted butter. Press them firmly into your mini cupcake liners to create a sturdy base.
- Baking Temperature: Bake your mini cheesecakes at a low temperature. This helps prevent cracks in the surface. A water bath can be particularly beneficial, as it creates a humid environment that keeps the cheesecake moist.
- Cooling: After baking, let them cool gradually at room temperature for about an hour before refrigerating. This minimizes temperature shock, which can lead to cracks.
Common Mistakes to Avoid
- Overmixing: When incorporating the eggs, mix just until combined. Overmixing can introduce air into the batter, leading to an undesirable texture.
- Oven Door: Avoid opening the oven door while the cheesecakes are baking. This sudden change in temperature can cause them to sink or crack.
- Chilling: Don’t rush the chilling process. For the best flavor and texture, your mini cheesecakes should sit in the fridge for at least a few hours or overnight.
By aiming to create a smooth, creamy filling and a well-rounded crust, you’ll be sure to master these delightful desserts!
Serving Suggestions for Mini Cheesecakes
Creating mini cheesecakes is just the beginning; the joy continues with delightful serving suggestions that can elevate your dessert experience. Picture hosting friends over for coffee, and bringing out these sweet, creamy bites—it’s a sure way to impress!
Pairing with Fruits and Sauces
Fruits and sauces harmonize beautifully with the creamy texture of mini cheesecakes. Consider fresh strawberries, blueberries, or slices of ripe peaches to introduce a burst of color and tanginess. You can also drizzle a decadent chocolate or caramel sauce to add an indulgent touch.
- For a classic combo, think about topping your cheesecakes with a vibrant raspberry sauce. It adds a beautiful contrast, both in flavor and appearance.
- If you want to be adventurous, a mango puree can bring a tropical flair while complementing the cheesecake’s richness.
Presentation Ideas
Elevate your mini cheesecakes through thoughtful presentation. Use decorative cupcake liners to make them visually appealing. Arrange them on a tiered stand to create an inviting display. Adding garnishes like mint leaves or a sprinkle of crushed nuts can offer a nice texture contrast.
Lastly, consider serving them on rustic wooden boards or colorful plates to enhance the overall aesthetics. A well-presented dessert can make all the difference, turning an everyday treat into a memorable event.
Time Breakdown for Making Mini Cheesecakes
Creating the perfect mini cheesecakes is a delightful journey that requires just a bit of your time. Here’s how it all breaks down:
Preparation Time
Getting everything ready takes about 20 minutes. You’ll be mixing crust ingredients, blending the cheesecake filling, and prepping your muffin tin. Having your ingredients measured and organized upfront can make this step even smoother!
Baking Time
These adorable bites need around 15-20 minutes in the oven. Keep an eye on them; you want to ensure they’re set but still soft to the touch, achieving that delightful, creamy texture.
Chilling Time
Patience is key during the chilling phase! Allow your mini cheesecakes to chill for at least 2 hours. This helps them firm up and creates that smooth, rich flavor that makes each bite simply irresistible.
In just a few hours, you’ll be ready to enjoy or share these delightful treats!
Nutritional Facts for Mini Cheesecakes
Mini cheesecakes may be small, but they pack a delightful balance of flavors and nutrients that can elevate your dessert experience. Whether you’re indulging at a gathering or enjoying a quiet night in, you’ll want to know what you’re savoring.
Calories
Each mini cheesecake typically contains around 150-200 calories. This makes them a manageable treat, especially when compared to traditional large slices of cheesecake. Enjoying them in moderation ensures that you can satisfy your sweet tooth without overdoing it.
Sugars
With approximately 10-15 grams of sugar per serving, these mini cheesecakes have just the right amount of sweetness to balance the creamy filling. If you’re watching your sugar intake, consider using a natural sweetener for your next batch!
Protein
These little delights also provide about 3-5 grams of protein each, thanks to ingredients like cream cheese and eggs. This boost can help you feel fuller for longer, making them more than just a guilty pleasure.
FAQs about Mini Cheesecakes
Making mini cheesecakes can feel like a delightful dance of flavors and textures, but as with any recipe, questions may arise along the way. Let’s dive into some common concerns that may pop up as you embark on this sweet venture.
How can I prevent cracks in my mini cheesecakes?
Cracks are often the nemesis of cheesecake enthusiasts, but there are a few tricks to keep those surfaces smooth and pristine. First, ensure your cream cheese is at room temperature; this helps create a homogenous mix, reducing the likelihood of cracks.
- Don’t overmix: While it’s important to blend your ingredients thoroughly, overmixing can introduce excess air, leading to cracking.
- Water bath method: Consider baking your mini cheesecakes in a water bath. This gentle cooking method helps to control the temperature and provides moist heat, reducing the chances of unsightly cracks.
- Cool gradually: Once they’re done baking, allow your cheesecakes to cool in the oven slightly before transferring to the countertop. This gradual temperature change helps prevent a sudden shock that can cause cracks.
Can mini cheesecakes be frozen?
Absolutely! Mini cheesecakes can be frozen for up to three months. Ensure they are cooled completely, then wrap them tightly in plastic wrap and place them in an airtight container. When you’re ready to enjoy them again, just thaw them in the refrigerator overnight for the best taste and texture.
What’s the best way to store leftovers?
If you have leftover mini cheesecakes, they can easily be stored in the refrigerator! Place them in an airtight container with parchment paper between layers to prevent sticking. They’ll stay fresh for about 4 to 5 days, allowing you to indulge in their creamy goodness over time. Enjoy!
Conclusion on Mini Cheesecakes
Creating mini cheesecakes is an adventure that transforms simple ingredients into heavenly bites of creaminess. These delightful treats not only tantalize your taste buds, but they also allow for endless customization—from fruit toppings to decadent chocolate drizzles. The beauty of a mini cheesecake lies in its ability to cater to different occasions, whether it’s a casual gathering or a more festive celebration.
Embrace the joy of sharing these little wonders with friends or keeping them all to yourself—after all, they’re just the right size for indulgence. So, gather your ingredients, whip up these delightful bites, and savor each creamy morsel!
Print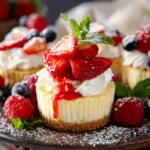
Mini Cheesecakes with Various Toppings
- Total Time: 8 hours 36 minutes
- Yield: 12 servings 1x
- Diet: Vegetarian
Description
These mini cheesecakes are creamy, delicious, and topped with your favorite toppings!
Ingredients
Scale
- 25 vanilla wafers or 8 full sheet graham crackers
- 1 1/2 Tablespoons granulated sugar
- 4 Tablespoons unsalted butter, (melted)
- 2 8 oz (16 oz) full fat, brick-style cream cheese, (very soft)
- 2/3 cup granulated sugar
- 1/2 cup sour cream (at room temperature)
- 1 1/2 teaspoons lemon zest
- 1 teaspoon vanilla extract
- 1/4 teaspoon salt
- 2 large eggs (at room temperature)
- 1 large egg yolk (at room temperature)
- Whipped Cream and Berries ((See Notes))
- Lemon Curd (
) - Glazed Strawberries (
) - Strawberry Sauce (
) - Blueberry Sauce
- Cherry Pie Filling, (chilled)
- Caramel Sauce (with candy bars!
) - Chocolate Sauce (
)
Instructions
- Preheat the oven to 350°F. Lightly spray a standard 12-count muffin pan with nonstick cooking spray, then add the cupcake liners (this prevents the liners from sticking to the pan).
- Add the wafers/crackers to a food processor and pulse until finely ground (or crush in a bag with a rolling pin). Add the butter and sugar and pulse (or stir) until evenly combined. Add 1 tablespoon to each liner, then firmly press down with the back of a glass or measuring cup. Bake for 6 minutes, then allow to cool on a wire rack for at least 5 minutes before filling. Reduce the oven temperature to 325°F.
- Add the cream cheese to the bowl of an electric mixer fitted with the paddle attachment and beat on medium speed until light and fluffy, about 2 minutes (no less!). Add sugar and beat one additional minute.
- Add the sour cream, lemon zest, vanilla, and salt, and beat just until blended. Add the eggs one at a time, followed by the egg yolk, beating as little as possible, just until combined after each addition (overbeating once you add the eggs can cause cracks and the cheesecake to rise, then deflate).
- Divide the mixture between the cupcake liners, filling each to the top. Drop the pan on the counter a few times to remove excess air bubbles.
- Bake until the edges are set, and the centers slightly jiggle when you tap the pan, 17-21 minutes. Don’t overbake them, or they won’t be as creamy.
- Let the pan cool on a wire rack for 1 hour, then refrigerate. Then cover with plastic wrap and refrigerate for at least 8 hours. They can be stored in the fridge for up to 5 days, but are at peak freshness after chilling for 8-24 hours.
- Top with desired topping such as whipped cream and berries, lemon curd and berries, glazed strawberries or strawberry sauce, blueberry sauce, caramel sauce, or chocolate sauce, etc.
Notes
- Whipped cream and berries can be added as desired.
- See link in ingredients for lemon curd and other sauces.
- Prep Time: 15 minutes
- Cook Time: 21 minutes
- Category: Dessert
- Method: Baking
- Cuisine: American
Nutrition
- Serving Size: 1 cheesecake
- Calories: 250
- Sugar: 15g
- Sodium: 180mg
- Fat: 18g
- Saturated Fat: 10g
- Unsaturated Fat: 8g
- Trans Fat: 0g
- Carbohydrates: 20g
- Fiber: 1g
- Protein: 3g
- Cholesterol: 80mg